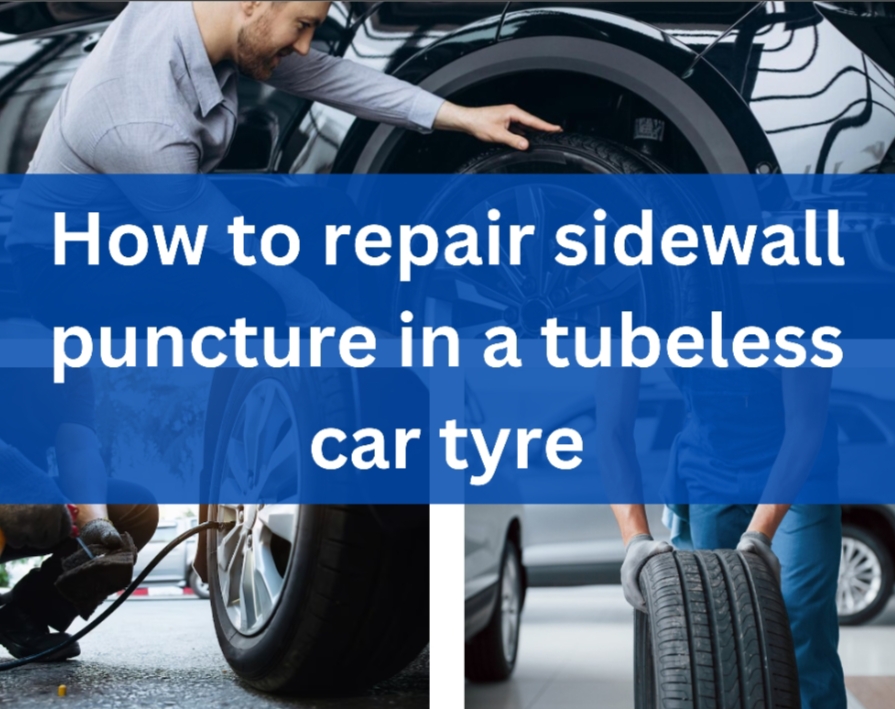
How to repair sidewall puncture in a tubeless car tyre
Tubeless tyres for motor cars have significantly transformed the travel business’s comfort, efficiency, and safety. However, motorists may still become angry when they see sidewall punctures.
As sidewall punctures occur where they are, they are challenging to handle due to their location and potential to undermine the integrity of the tyre structure. This article will cover tubeless automobile tyre sidewall puncture fixing and the automotive workshop equipment required.
Understanding sidewall punctures
One of the most vulnerable areas of the tyre due to the lack of sidewall protection is the sidewalls of tyres that get damaged by road debris, sharp objects, or direct hits with curbs.
While punctures in the sidewalls of tyres result in a fast loss of air, this process creates a slippery surface and reduces the tyres’ carrying capacity. It is essential to quickly locate and assess the gravity of a sidewall puncture before deciding on the most suitable repair course.
Tools and equipment
Tubeless tyres can have their sidewall punctures repaired using specialist equipment and tools often found in auto repair shops. Some examples are:
- Tyre repair kit:
Tyre repair kits should contain a reamer as their main component, but should also contain a tool probe, rubber cement, tyre plugs, and a T-handle tool. A bench or cordless drill is needed for a clean puncture with a proper plug insertion and a good seal.
- Portable air compressor:
A tyre needs to be reinflated after the repair job is done. A handheld air compressor comes in handy in such situations. Select a model of a pump that can be used to inflate vehicle tyres up to a desired level of pressure.
- Jack and jack stands:
To reach the flat tyre and secure it, you will want a jack and jack stands to elevate the vehicle. In order not to have any accidents or damage the car during a lifting, you have to use the proper techniques.
- Tyre gauge:
For efficient operation and maximum inflation, accuracy in tyre pressure measurement cannot be overemphasized. The high quality gauge can be used to check the pressure of the tyres both before working on them and after they are fixed.
- Work gloves and safety glasses:
Put on protective wear on your hands and eyes by using impact resistant and sturdy gloves as well as safety glasses, so that you can keep the sharp things and debris in check.
Step-by-Step Repair Process
Taking into account small details and using recommended methods is vital when repairing a sidewall puncture in a tubeless tyre of a vehicle. To fix the puncture and make sure the tyre is good to go again, follow these steps:
- Look for damage:
Before repairing the sidewall puncture, make sure you do it so as to get a good impression of its size, depth, and where exactly it is. Tyre replacement will be required if the puncture is more than 1/4 inch in diameter, near the tread shoulder or sidewall flex at risk of being in an area of irreversible damage.
- Remove the tyre:
Second, safely jack up the vehicle on a jack stand and jack up the car. To facilitate its removal, take off the “bad” tyre from your car and put it on a level and secure surface.
- Clean the puncture area:
Clear the hole from debris and foreign objects. Probe can be used for this purpose. The same tool or another equivalent can be also used. Wash the area properly with water before cleaning the area.
- Get the repair plug ready:
Rub the inside of the tyre plug (already chosen from your repair kit), with rubber cement. Apply this adhesive over the hole and seal it off to stop air from coming in.
- Insert the plug:
The next step is to put the repair plug in, which needs to expand the puncture hole with the reamer tool just a little bit. Plug the plug in the hole using the insertion tool and don’t forget to leave enough extra thread going onto the tyre’s inner liner.
- Cut off any extra plug material:
After the plug is tightly fitted into the hole, use a sharp utility knife to cut off any excess material flushed with the tread surface of the tyre. This will ensure the fix is level and won’t disrupt the tyre’s performance.
- Inflate the tyre:
Link the tyre’s inflation valve to the nozzle of the portable air compressor. The manufacturer’s suggested pressure should be filled. Ensure the pressure is correct and apply respective corrections using a tyre pressure gauge.
- Check for air leaking:
Rub the repair area clean with water after inflating the tyre. If you find bubbles it can indicate air leaks. So, you should try again or contact a professional.
Safety considerations
Avoid accidents or injuries while repairing sidewall punctures in the tubeless automobile tyres. Follow the safety standards. Always be cautious. Observe these safety guidelines at all times:
- To prevent cuts from sharp objects, have safety gear like gloves and safety glasses.
- One of the main reasons why jack stands are necessary is because they are the most convenient option when it comes to lifting the vehicle in a safe way before removing its tyres.
- In order to achieve best performance and safety, fix your tyres in a way the manufacturer describes and in accordance with those in your kit.
- Talk to a tyre specialist who has had specific training or take your car to a reputable garage if you don’t know anything about this or you aren’t sure how serious the sidewall puncture is.
Conclusion
It may at first sight look like an impossible task, but repairing a flat sidewall of tubeless tyres is rather easy if you have enough equipment, necessary skills, and concern. By following the given instructions and properly equipping yourself with workshop equipment you can fix your tyre and hit the road after being ready. To protect yourself, and your car and to prolong the life of your tires, regular inspections and repairs are considered a must.